How Do You Fix a Fan Step by Step
Fans are essential appliances that keep us cool and comfortable, especially during hot summer months. However, like any mechanical device, fans can experience issues that require repair. In this article, we will guide you through the process of diagnosing common fan problems and provide step-by-step instructions on how to fix a fan.
Diagnosing common fan issues
Fan does not turn on
If your fan does not turn on, the first thing to check is the power source. Ensure that the fan is properly plugged into a working outlet and that the circuit breaker has not tripped. If the fan still does not turn on, the issue may be with the fan’s switch, capacitor, or motor.
Fan makes unusual noises
Unusual noises, such as squeaking, rattling, or grinding, can indicate several issues. These noises may be caused by loose or worn-out parts, such as the fan blades, motor bearings, or mounting brackets.
Fan blades rotate slowly or unevenly
Slow or uneven blade rotation can be caused by a faulty capacitor, which helps the motor start and maintain a consistent speed. A damaged or worn-out motor can also lead to this issue. In some cases, the fan blades may be dirty or unbalanced, causing the fan to rotate slowly or unevenly.
Fan overheats and shuts off
If your fan overheats and shuts off, it may be due to a malfunctioning motor or a clogged air intake. Dust and debris can accumulate on the fan blades and motor, restricting airflow and causing the motor to overheat.
Disassembling the Fan
Before attempting to repair your fan, make sure to unplug it from the power source to avoid any electrical hazards.
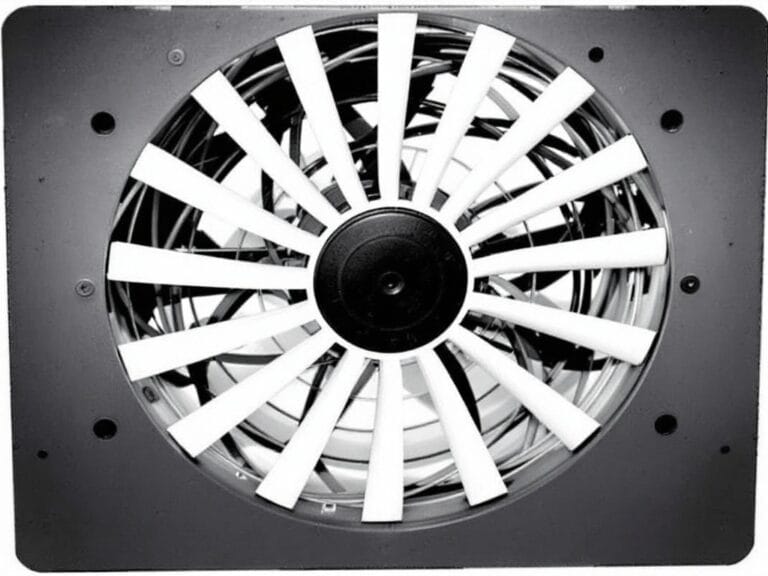
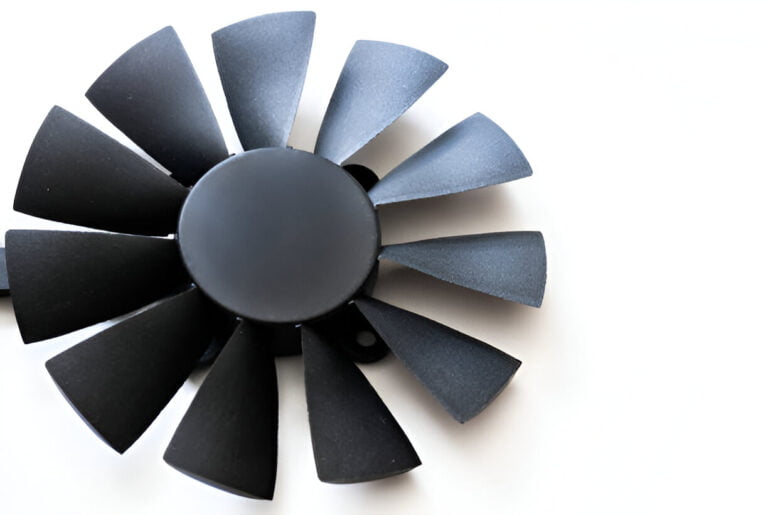
Step 1: Remove the fan blades
To remove the fan blades, locate the central hub that holds the blades in place. Depending on the fan model, you may need to unscrew a set screw or press a release button to detach the blades from the motor shaft.
Step 2: Remove the fan’s guard or housing
Most fans have a protective guard or housing that covers the motor and electrical components. Carefully unscrew or unclip the guard or housing to access the internal parts of the fan.
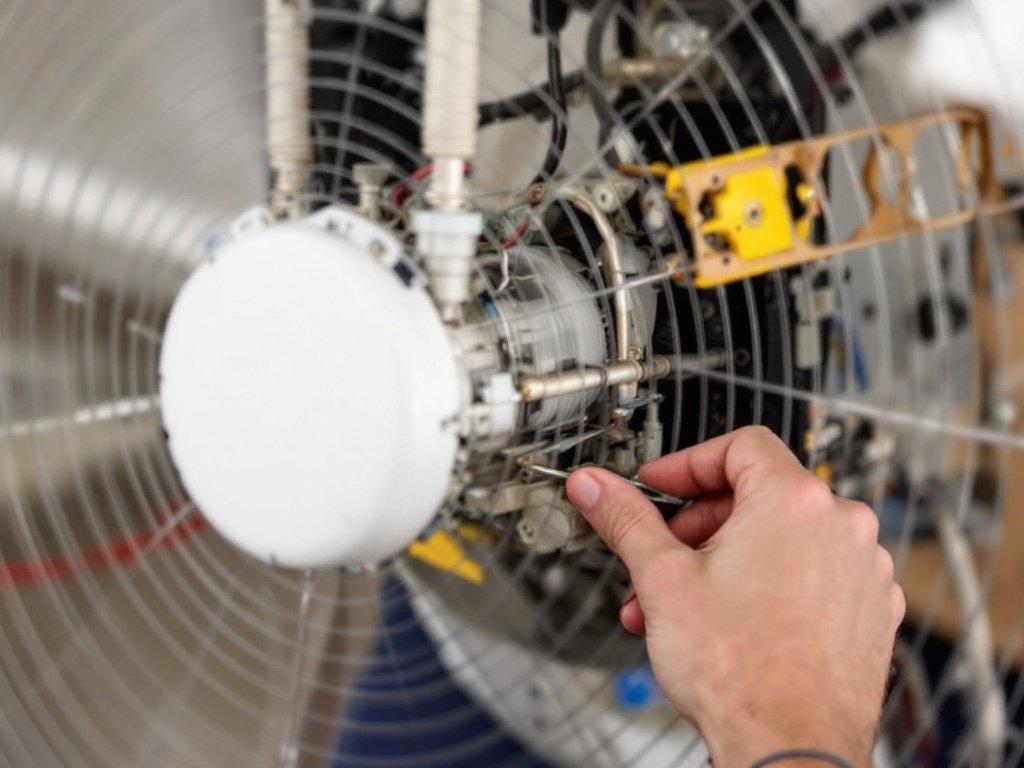
Step 3: Disconnect the electrical connections
Locate the electrical connections that power the fan motor. These connections typically include wires leading to the motor, capacitor, and speed control switch. Take note of the wire positions and colors before disconnecting them to ensure proper reassembly.
Repairing Process
Step 1: Clean the fan components
Using a soft brush or compressed air, clean the fan blades, motor, and other components to remove any dust or debris. This step can help improve the fan’s performance and prevent overheating.
Step 2: Lubricate the motor bearings
If the fan motor bearings are accessible, apply a few drops of light machine oil to lubricate them. This can help reduce friction and noise, and prolong the life of the motor.
Step 3: Replace faulty components
If you have identified any faulty components during the diagnosis process, such as a capacitor or switch, replace them with new ones of the same specifications. Be sure to purchase compatible replacement parts from a reliable source.
Reassembling the Fan
Step 1: Reconnect the electrical connections
Carefully reconnect the electrical wires to their original positions on the motor, capacitor, and speed control switch. Double-check that the connections are secure and correctly placed.
Step 2: Reinstall the fan’s guard or housing
Place the guard or housing back onto the fan and secure it using the screws or clips that were removed during disassembly. Make sure that the guard or housing is properly aligned and firmly attached.
Step 3: Reattach the fan blades
Slide the fan blades back onto the motor shaft and secure them using the set screw or release button. Ensure that the blades are tightly fastened and balanced to prevent wobbling or uneven rotation.
Step 4: Test the fan again
Once the fan is fully reassembled, plug it into a power source and test it on various speed settings. Observe the fan’s performance, noise levels, and blade rotation to confirm that the repair was successful.
By following these step-by-step instructions, you can diagnose and fix common fan issues, saving you time and money. However, if you are unsure about your ability to repair the fan safely, or if the fan has complex electrical issues, it is advisable to seek the assistance of a qualified technician.