How to Clean a Centrifugal Fan
Publish Time: 2024-12-10
Author: SNTOOM
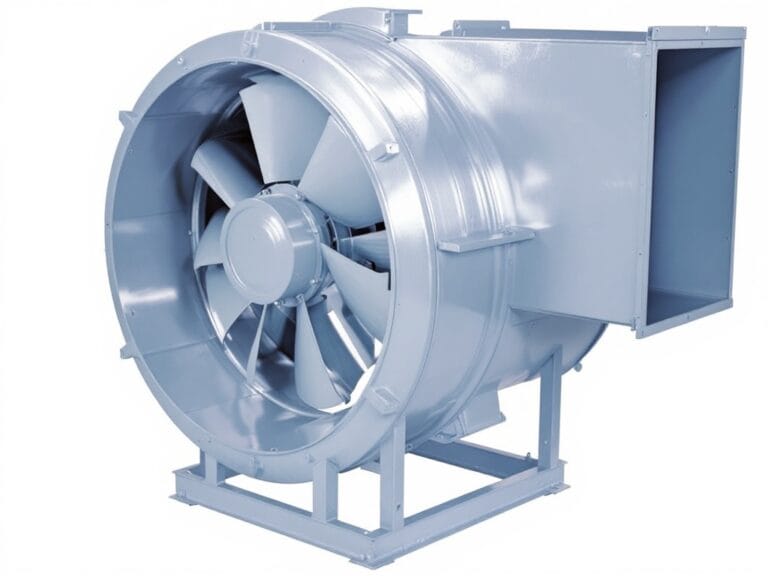
Centrifugal fans are a staple in many industrial facilities, moving large volumes of air for ventilation, cooling, and exhaust applications. Over time, these fans can accumulate dirt, dust, and debris, which can impair their performance and lead to costly breakdowns if not addressed.
In this post, we’ll walk through a step-by-step process for properly cleaning a centrifugal fan, from disassembly to testing.
Step 1: Remove the Fan from Its Housing
- Before beginning the cleaning process, ensure that the fan is disconnected from its power source to prevent any accidents or injuries.
- Locate the fasteners, such as screws or bolts, that secure the fan to its housing. These fasteners are typically found around the perimeter of the fan.
- Using the appropriate tools, such as a screwdriver or wrench, carefully remove the fasteners and set them aside in a safe place for later reassembly.
- Gently pull the fan away from its housing, taking care not to damage any electrical connections or other components.
- If the fan is connected to electrical wiring, carefully disconnect the wires, noting their positions for proper reassembly later.
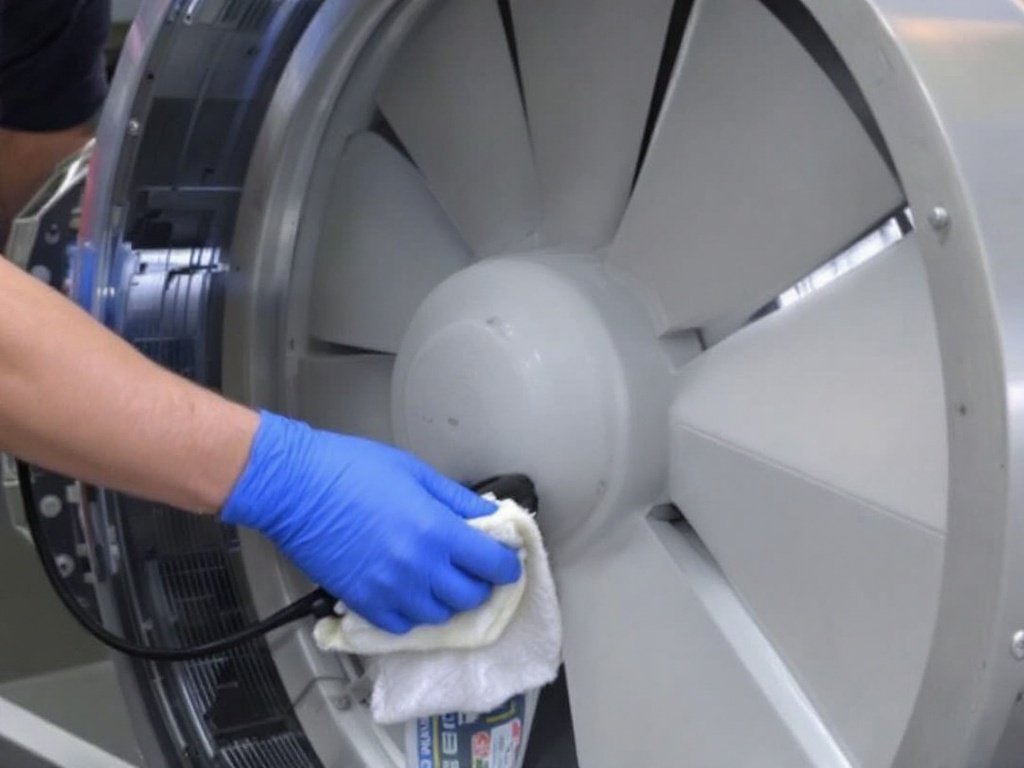
Step 2: Clean the Fan Blades
- Using a soft-bristled brush, gently remove any loose dirt, dust, or debris from the fan blades. Pay attention to both sides of each blade, as well as the spaces between them.
- For more stubborn dirt or grime, create a cleaning solution by mixing a mild detergent with warm water in a bucket or spray bottle.
- Apply the cleaning solution to the fan blades using a soft cloth or sponge, taking care not to saturate any electrical components.
- Gently scrub the blades until all dirt and grime have been removed. Use a toothbrush or similar small brush to clean hard-to-reach areas.
- Rinse the blades thoroughly with clean water to remove any remaining cleaning solution or debris.
- Dry the blades completely using a clean, lint-free cloth or allow them to air dry before reassembling the fan.
Step 3: Clean the Fan Housing
- Using a vacuum cleaner with a brush attachment, remove any loose dirt, dust, or debris from the interior and exterior of the fan housing.
- Apply the same cleaning solution used for the fan blades to a soft cloth or sponge, and wipe down the interior and exterior surfaces of the housing.
- Pay extra attention to any air intake or exhaust vents, as these areas can accumulate significant amounts of dirt and dust over time.
- Use a small brush or toothbrush to clean any hard-to-reach areas or tight spaces within the housing.
- Rinse the housing thoroughly with clean water to remove any remaining cleaning solution or debris.
- Dry the housing completely using a clean, lint-free cloth or allow it to air dry before reassembling the fan.
Step 4: Reassemble the Fan
- Once the fan blades and housing are completely clean and dry, carefully reattach the fan to its housing.
- If the fan was connected to electrical wiring, reconnect the wires according to their original positions, ensuring a secure and proper connection.
- Reinsert and tighten the fasteners that secure the fan to its housing, taking care not to over-tighten them, as this may cause damage to the fan or housing.
- Double-check that all components are properly aligned and securely fastened before proceeding to the next step.
Step 5: Test the Fan
- After reassembling the fan, reconnect it to its power source.
- Turn on the fan and observe its operation for a few minutes to ensure that it is functioning properly and that there are no unusual noises or vibrations.
- If the fan appears to be working correctly, it is now ready for normal use.
- If you notice any issues or abnormalities in the fan’s operation, disconnect it from its power source immediately and consult a professional for further assistance.