How to Install Centrifugal Fan
Centrifugal fans are widely used in industrial settings for ventilation, cooling, and material handling applications. Proper installation is critical for optimal performance, efficiency, and safety.
This blog post provides a comprehensive guide on installing centrifugal fans, covering key aspects from location selection to final testing. We will walk through the essential steps, including foundation preparation, component assembly, drive system setup, ductwork integration, and electrical connections.
Step to Step to Install a Centrifugal Fan
Step 1: Choose an Appropriate Location
Select a location to mount the centrifugal fan that allows for proper airflow and access for maintenance. Ensure the mounting surface is flat, structurally sound, and can support the weight of the fan assembly. Allow sufficient clearance on the inlet and outlet sides of the fan housing for unimpeded airflow.
Step 2: Secure the Fan to the Mounting Surface
Position the fan housing on the prepared mounting surface. Use a level to ensure the housing is straight. Mark the locations of the mounting holes on the surface using the fan’s base as a template. Drill pilot holes at the marked locations. Bolt the fan securely to the mounting surface using heavy-duty fasteners appropriate for the surface material and fan weight.
Step 3: Connect the Ductwork
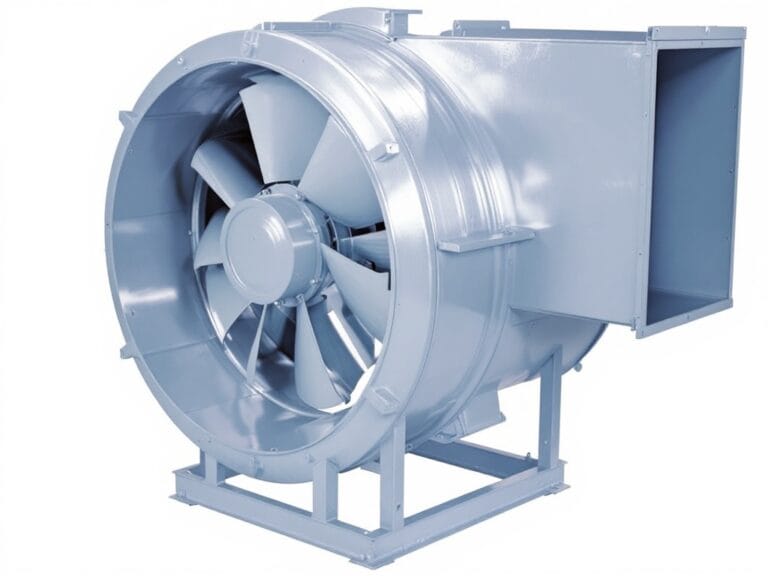
Attach the inlet and outlet ducts to their respective openings on the centrifugal fan housing. The inlet duct should be connected to the circular inlet opening, while the outlet duct attaches to the rectangular discharge chute. Use appropriate connectors, gaskets, and sealants as recommended by the fan manufacturer to create airtight seals between the fan and ductwork. Secure the ducts to the fan and any intermediate supports using sheet metal screws, rivets, or duct clamps.
Step 4: Wire the Electrical Connections
Hire a licensed electrician to connect power to your centrifugal fan installation unless you have the necessary expertise. The fan must be wired according to the manufacturer’s wiring diagram and grounded properly. Use a dedicated circuit that matches the fan’s voltage and amperage ratings. Install a disconnect switch near the fan for safe servicing. Test the fan’s operation and check for proper impeller rotation direction before putting the system into service.
Step 5: Perform Post-Installation Checks
After installing and wiring the centrifugal fan, conduct a thorough inspection to verify proper installation. Check for any loose fasteners, gaps in ductwork connections, or obstructions to airflow. Ensure all safety guards and access panels are securely in place. Operate the fan briefly, observing for any unusual noises or vibrations that could indicate issues requiring correction before commissioning the system.